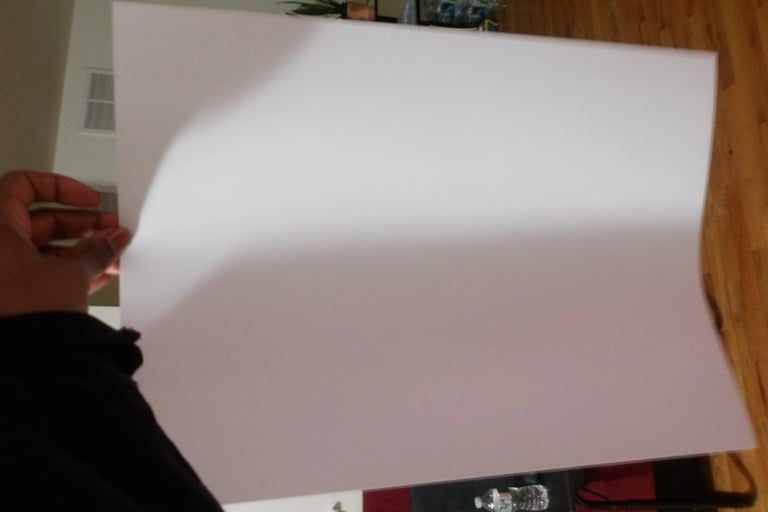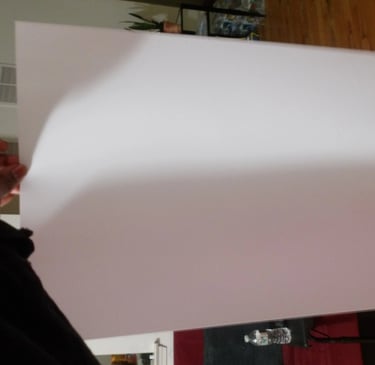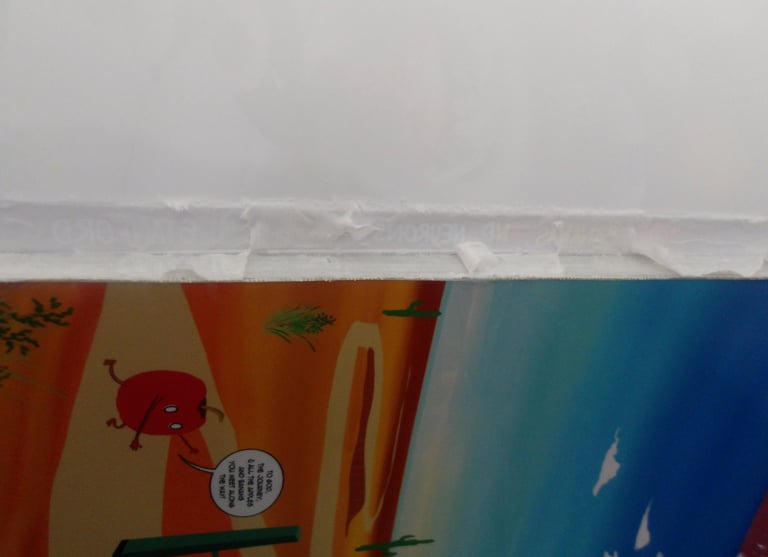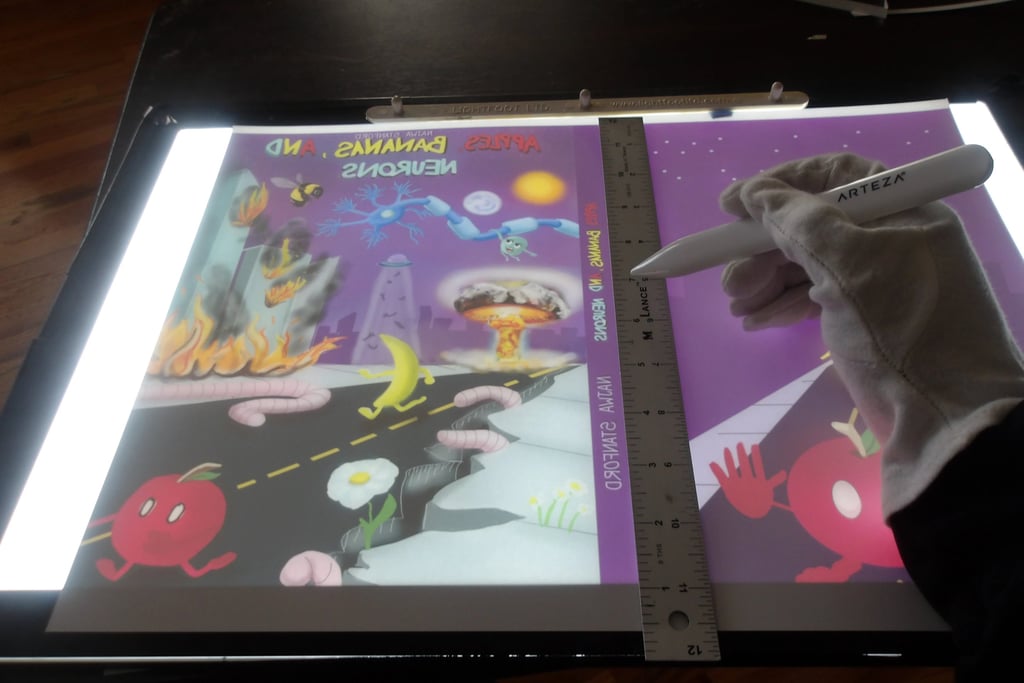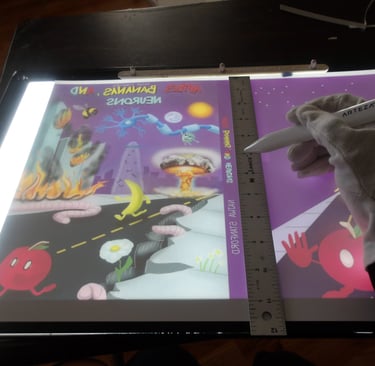
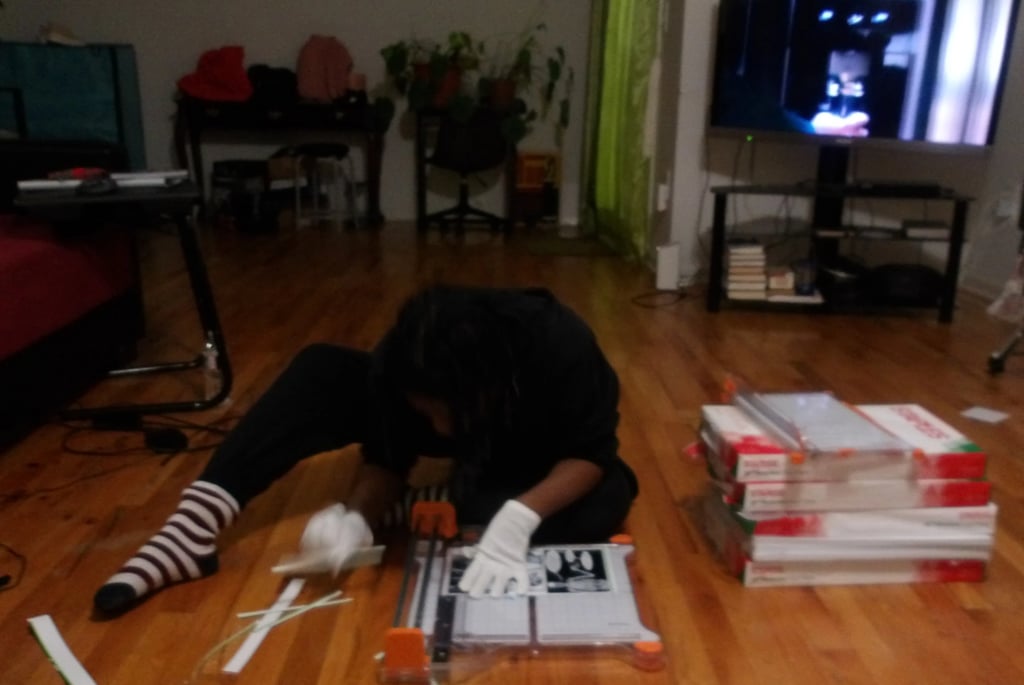
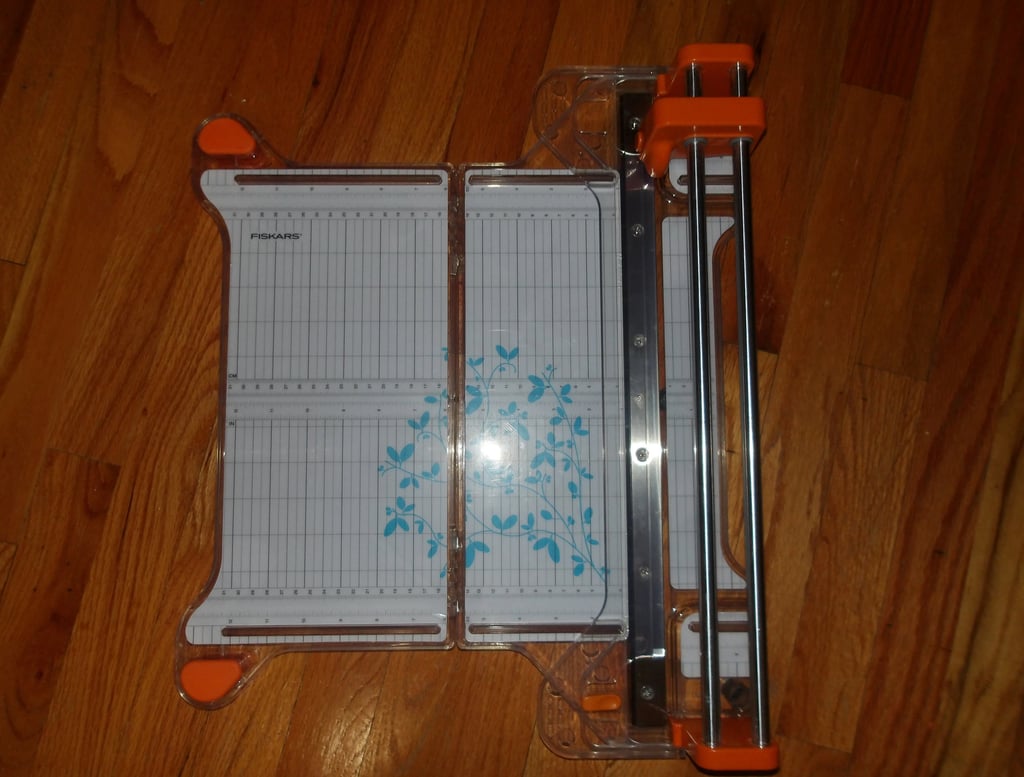
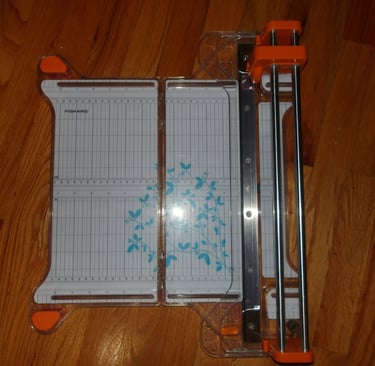
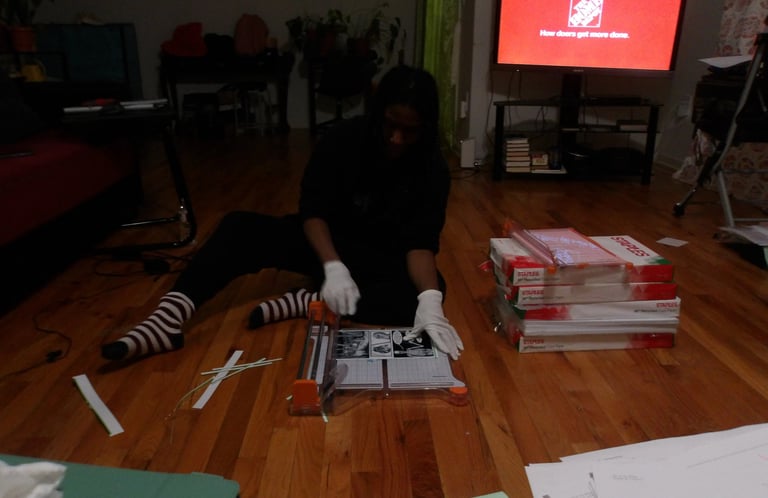
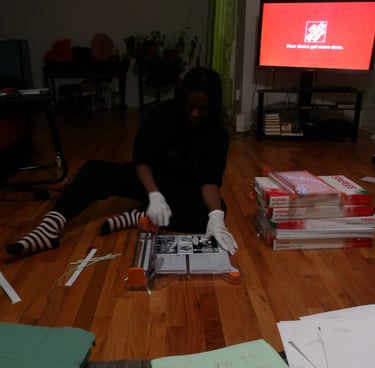
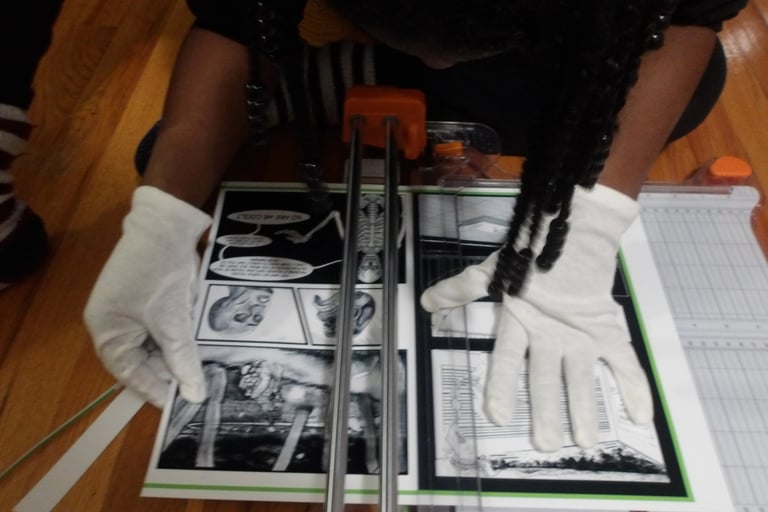
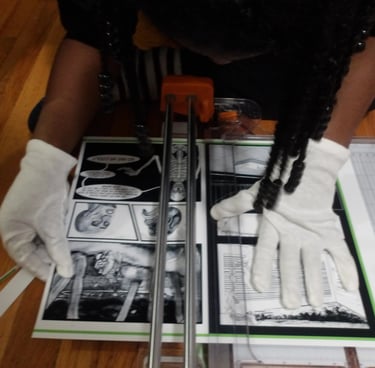
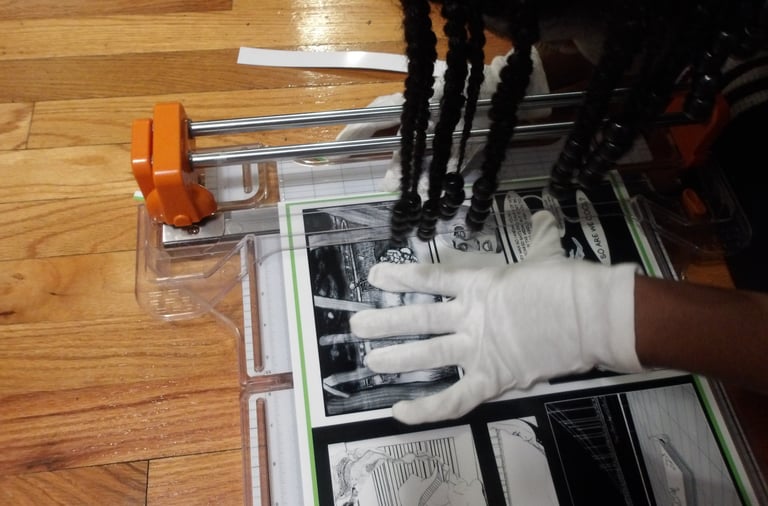
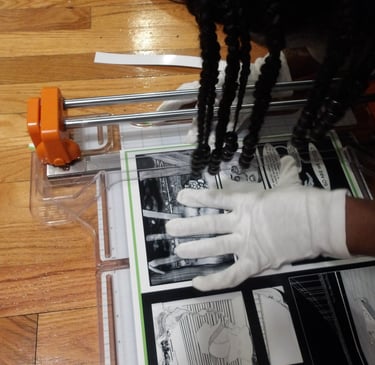

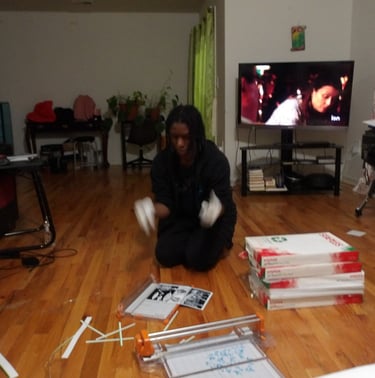
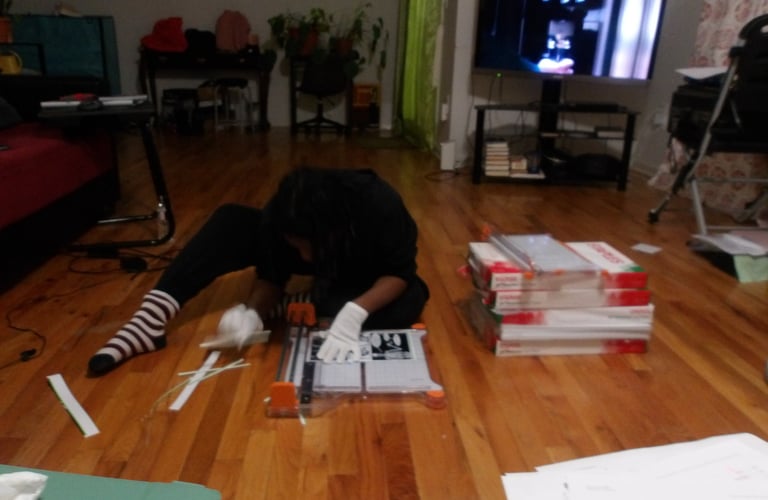
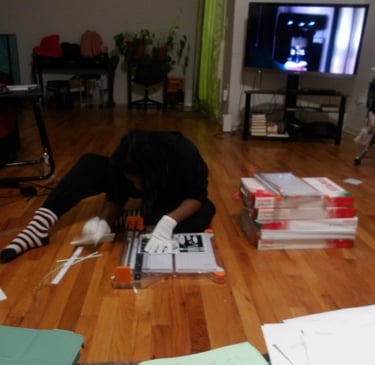

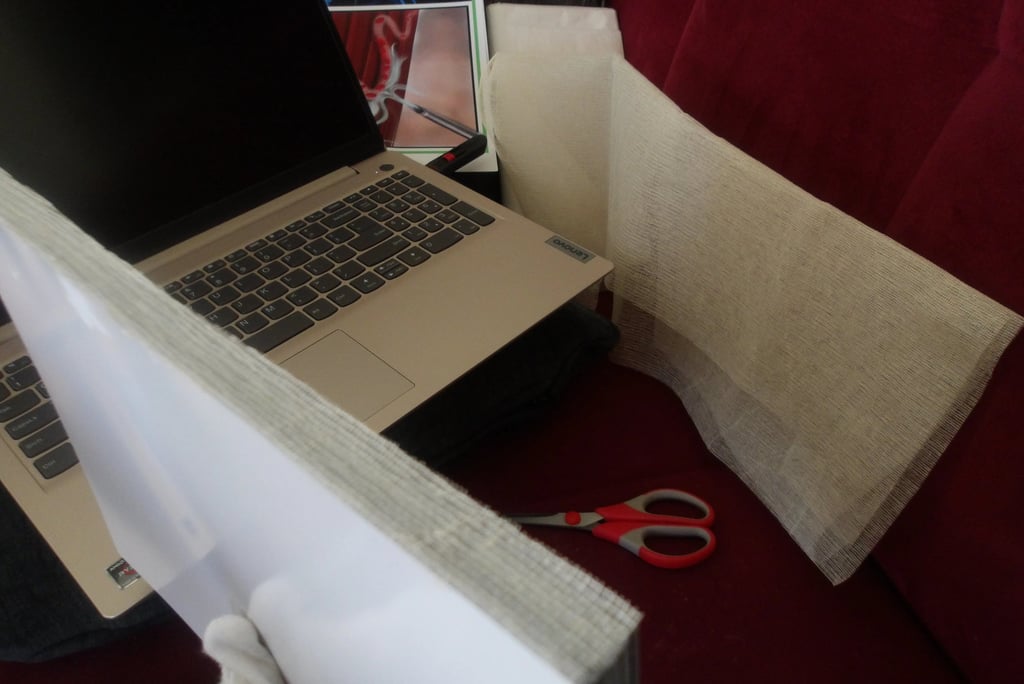
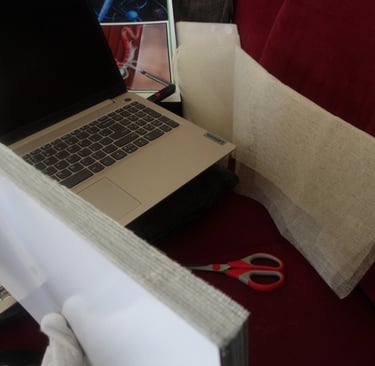
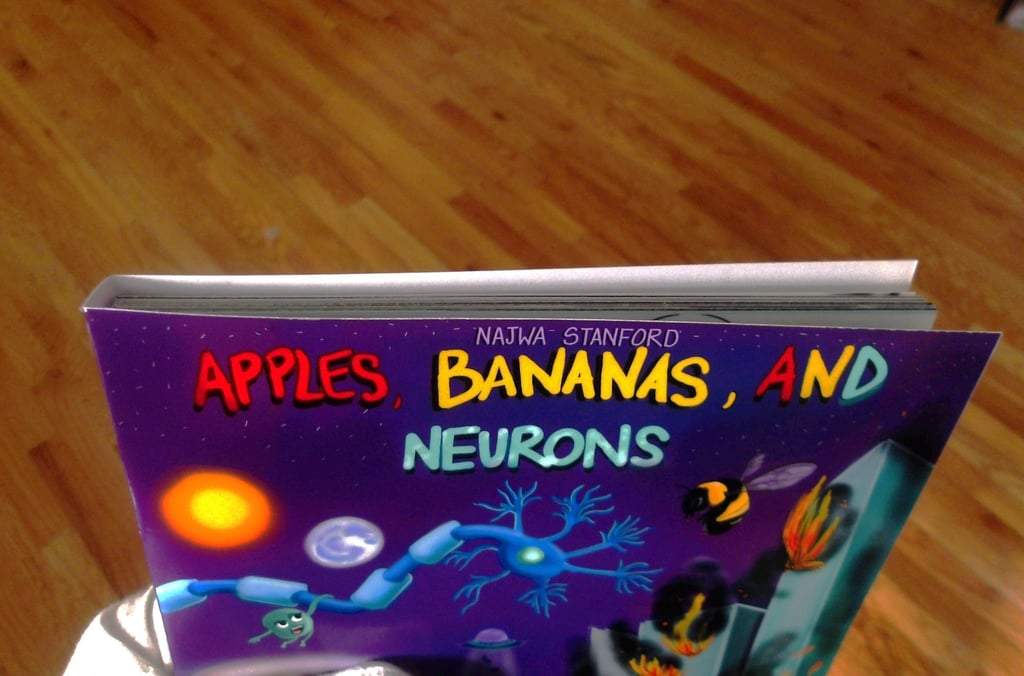
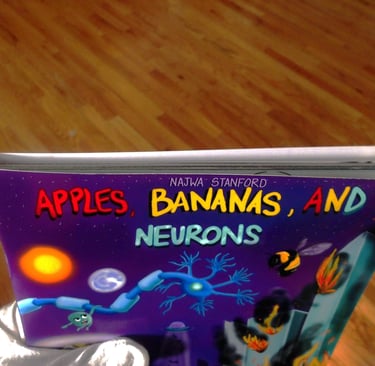
After scoring the spine, it was then time to attach the cover to the signature. Here came my next problem. The cover was way too large for the signature. Now, this is completely baffling to me. I've measured the perimeter of the signature multiple times; I then adjusted the size of the cover accordingly several times in Krita, and yet, the size of the cover was still too large. I am still troubleshooting this, because as it stands right now I end up chopping off important details, like a part of the Apple's arm which is truly not what I want to do.
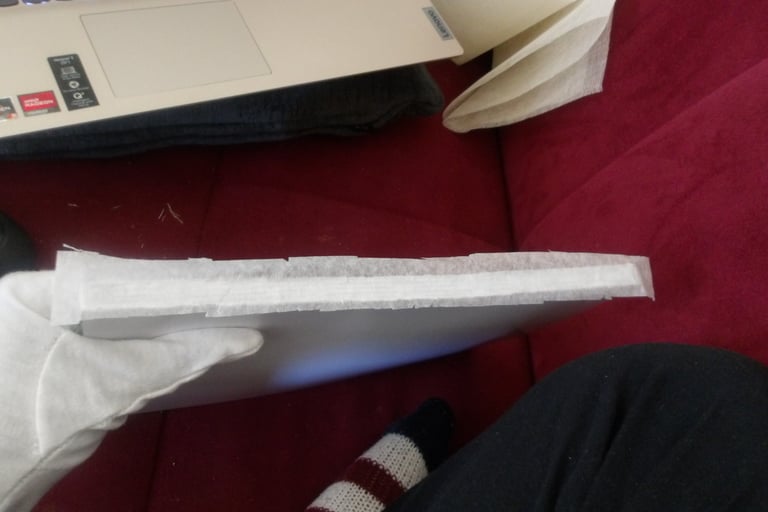
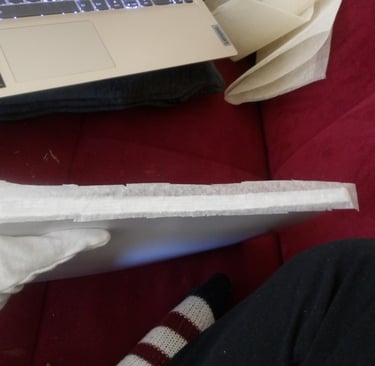
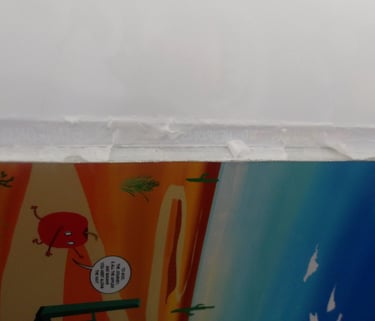
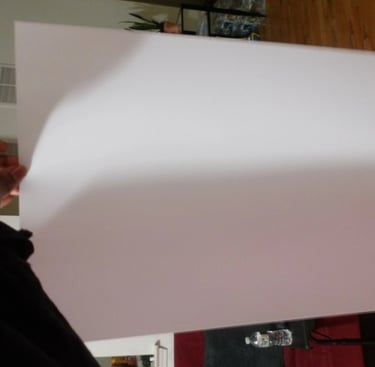
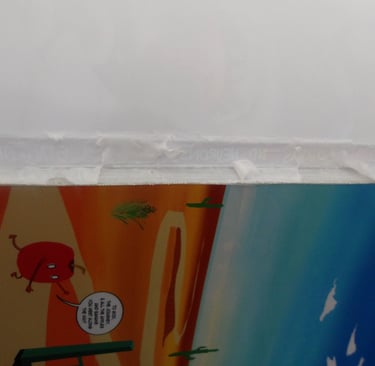
Now, I don't know if you can see that--it's much clearer in person. But, the the slightly darker area of wetness induced by the wipe is what I'm talking about. I panicked! How can I sell this copy to a customer?! I'm already charging them $40.00?! How can I sell a damaged copy? Should I discount it? Should I scrap this book all together? But that would be a waste of ink, paper, and resources?! So I did what most 30 year-old women do, I called my mom, 'cause she always come through with some great advice
After listening to me fret for about 7 minutes she said: I bet it's not as bad as you're describing it, and if anything why not just send this copy to the copyright office?
And then it hit me. Like a dodgeball to the head when you weren't paying attention to the game because your head was off in the clouds. Yes, I need to copyright my book BEFORE I continue printing books to sell to potential readers.
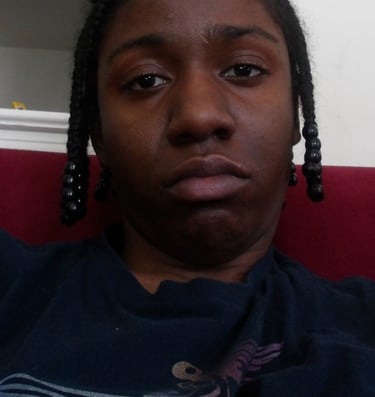
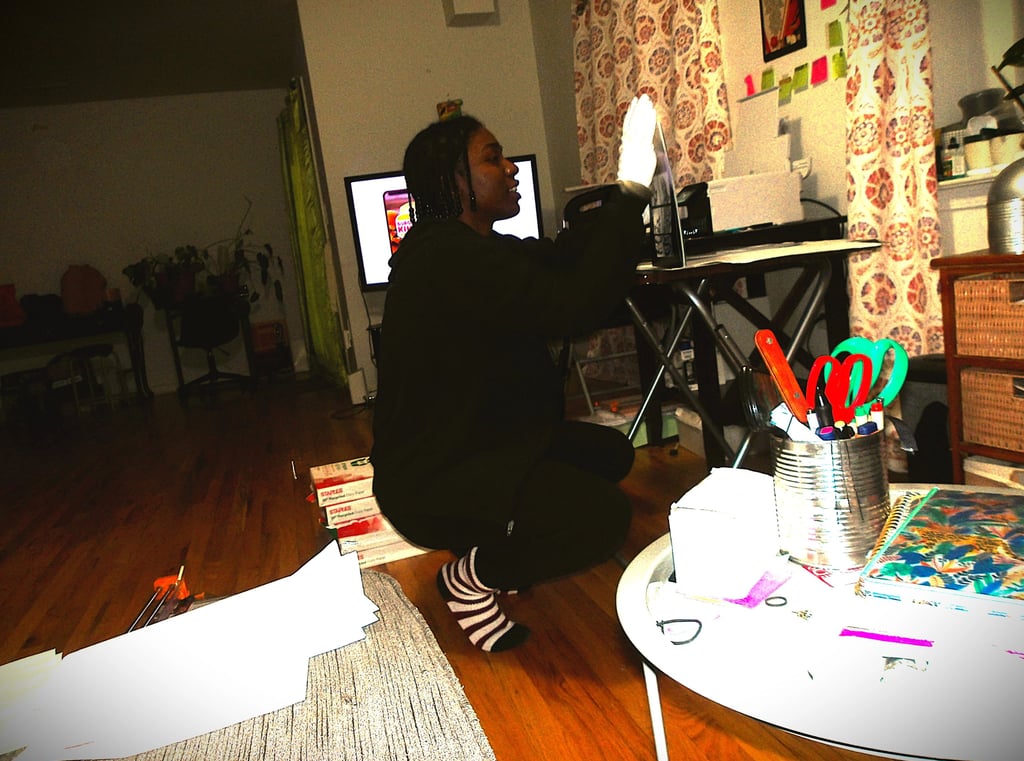
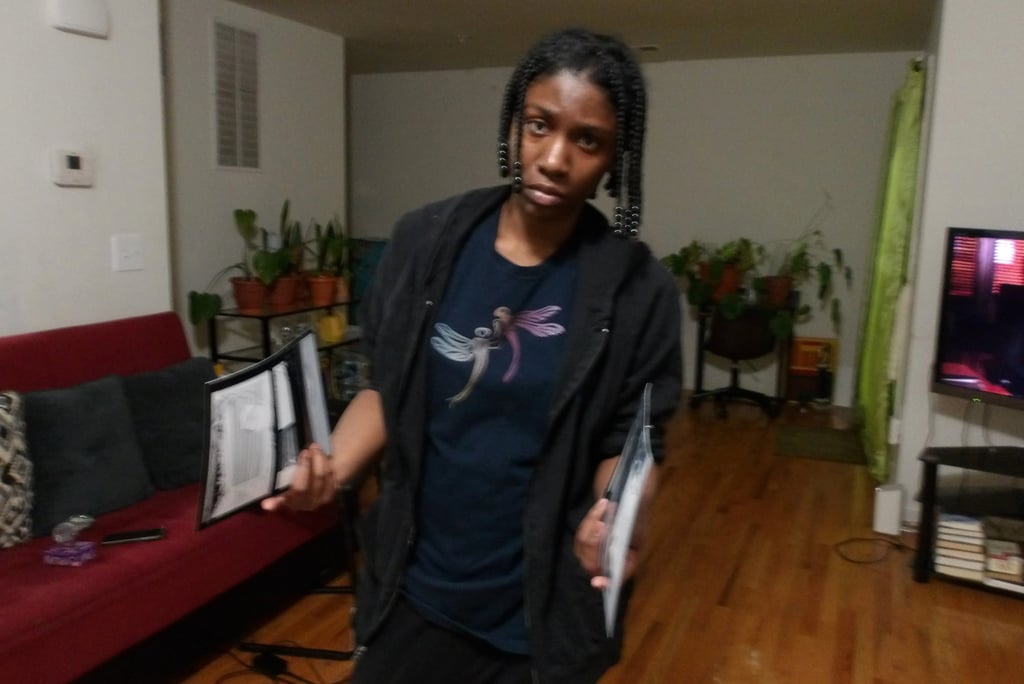
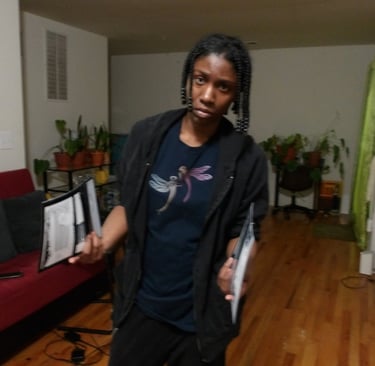
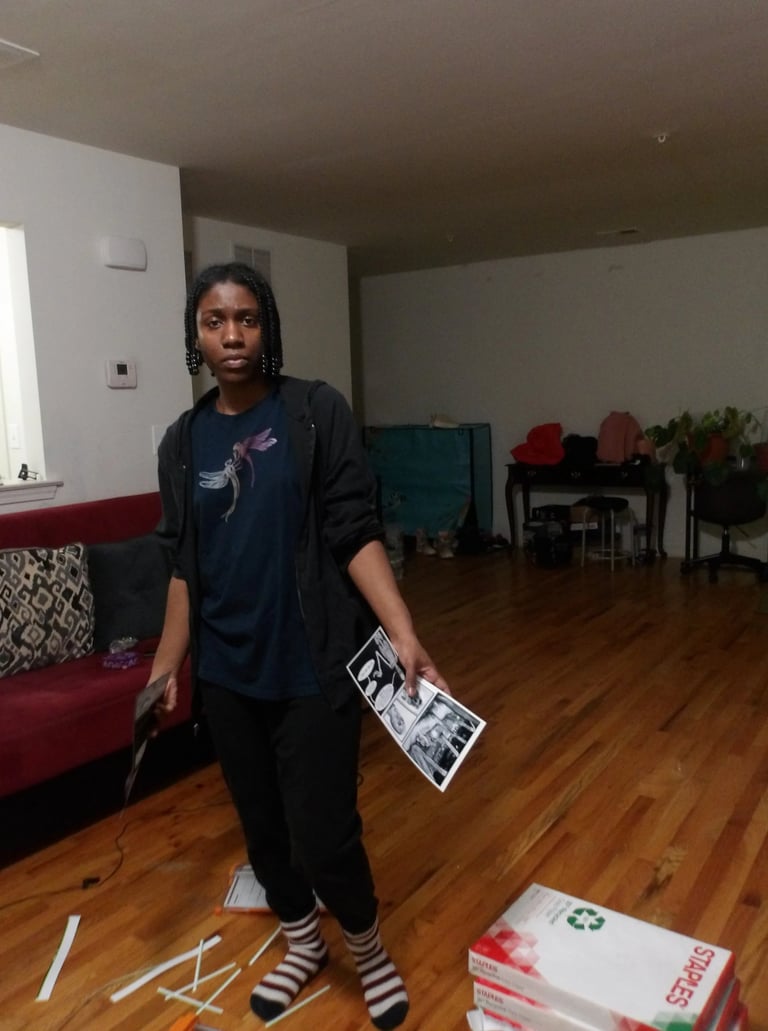
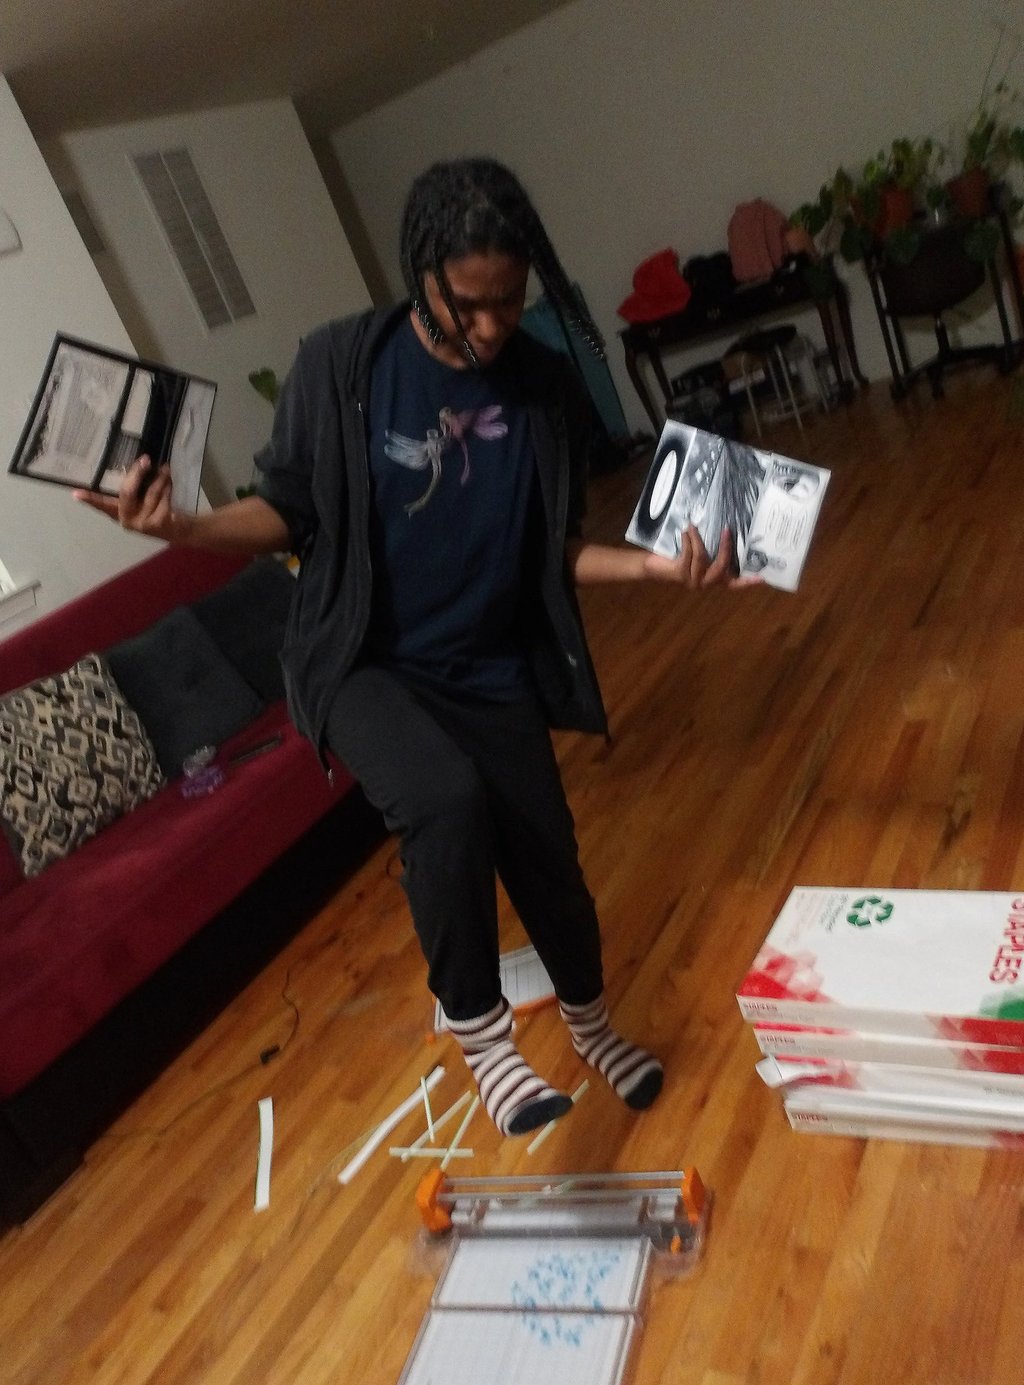
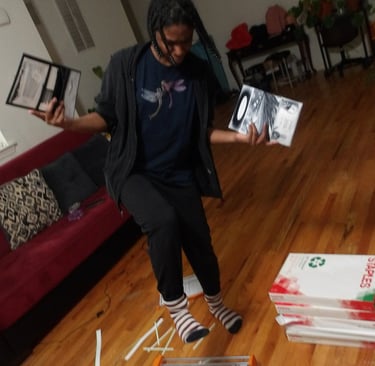
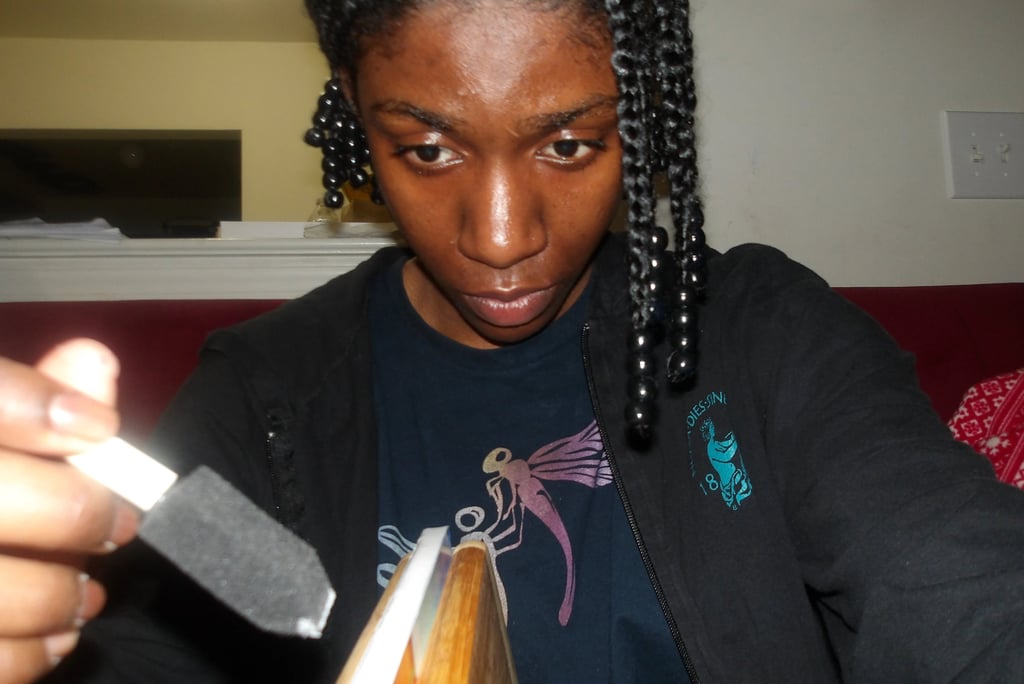
And so, after making this face,
I got myself together packed my book up and headed straight to the Post Office at 4:46 pm. Yes, I was THAT customer. The type that heads out to do business right before the business closes, holding up all the hardworking employees who just want to go home, especially on a Friday.
And, I work in retail. I know better.
And yet, that didn't stop me. 4:46pm or not, off I went, to get that book sent....