Bound to Succeed!
Najwa Stanford
2/18/20256 min read
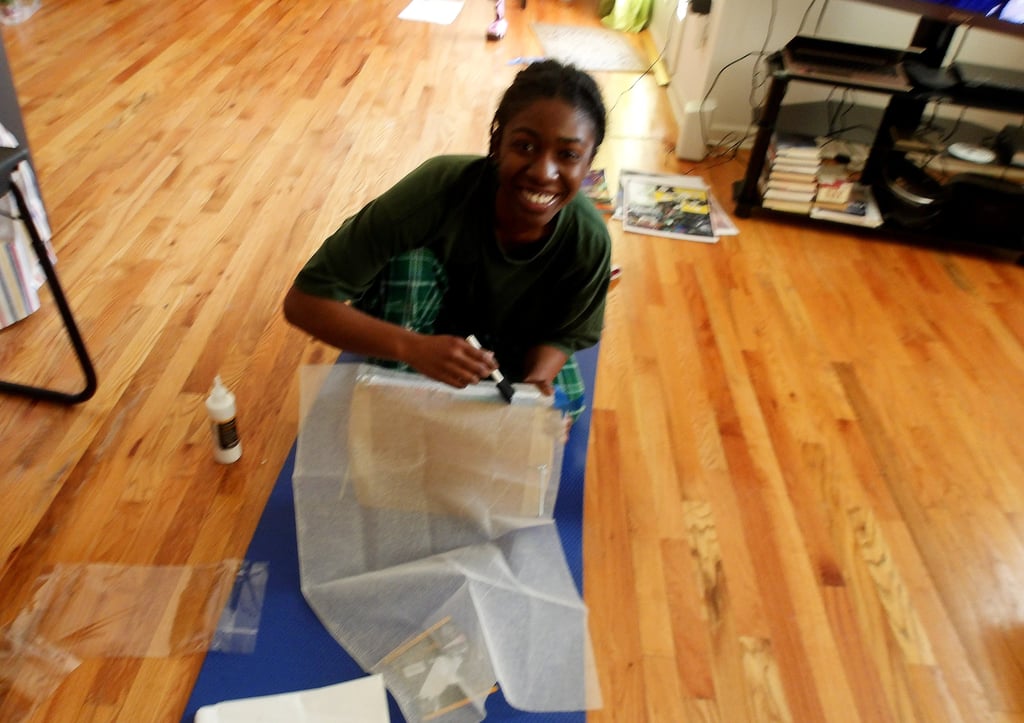
SOOO! As you've probably guessed from my punny title, today I take you through the process of binding my 72 page graphic novel! But first I'd like to give a special shoutout out to Sea Lemon, a highly talented book binder, whose youtube videos taught me how to make my own book press! Also, on a different note, please excuse my blurry photo, but, as I was googling a pun that goes with blurry, I stumbled upon this:
Thus, think of my blurry photo as a way to instantly capture your attention, as we dive into my experience with binding my book and emerge boundless! Hmm, but if we emerge boundless then wouldn't that be a bad thing? Wouldn't that mean that my book would have fallen apart as it wouldn't be bound together? Hmm....I think we should move on now.....
So, where to start? Well, after having printed and cutting all the pages to size, a process which was particularly frustrating in the beginning because I switched papers to cut costs. I loved using Red River Paper but it is a little on the pricier side and I have to live within my means :) Thus, I am currently using Photo Paper Direct and the only thing I don't like about the paper is the fact that its shipping partner is Amazon.
But, more to the point, when I first placed the paper in my printer the paper wouldn't slide down on its own so I kept getting the error message that the paper was jammed! This happened about 20 times and I was growing increasingly upset and concerned that after spending all this money on my printer it now wouldn't be able to print on satin paper. But then! My frustration finally led me to manually feed the paper by gently pushing the paper down the slot and it worked! Whew! I finally breathed a sigh of relief and did a little happy dance as my paper worked its way through my printer. It came out beautifully, and so I proceeded to flip the image to the other side, placing it left side down so that the second set of images could print on the backside. It was only then that I realized more trouble was on the way.
You see, unlike before, my double sided prints weren't lining up which could make it impossible to cut the images evenly. I experimented with every setting possible, I realigned the print nozzles, I cleaned the printer, I turned the printer off for 15 seconds and then tuned it back on; I took to the internet researching ways to troubleshoot my printer and yet nothing worked. I checked the time and it was a whopping 1:00 IN THE MORNING! I threw my hands up in the air in defeat because I knew I had to stop in order to get some rest for work the next day. (And you should be proud of me because in the past, I would have pulled an all-nighter trying to figure out what was going on; kudos to prioritizing self-care)
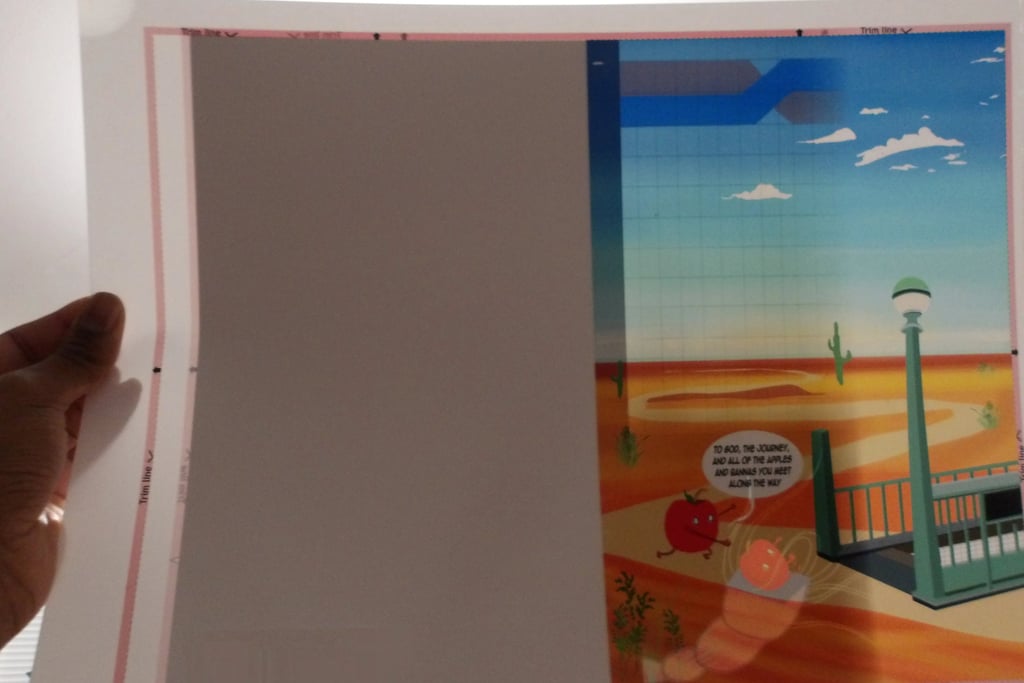

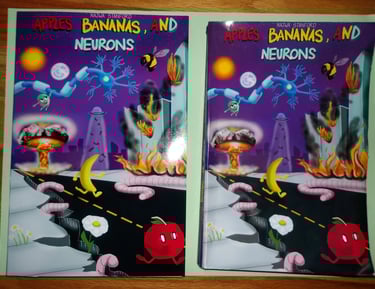
Visual depicting how the pink trim lines were not lining up. Which, in turn would make trimming the pages accurately impossible.
The artists face upon realizing her bleeds were slightly off resulting in inconsistencies with the uniformity of each page.
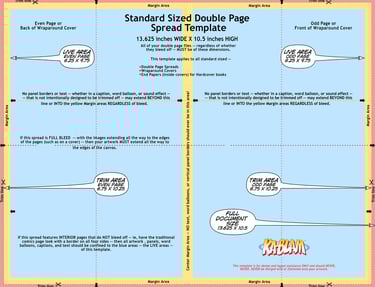
What was causing this I pondered? After careful consideration I recalled something I learned in the beginning of my comics journey but admittedly always kinda brushed off: my bleeds. While preparing my files for print on my computer, I neglected to set up my pages more carefully so that they were abiding by the standards set by Ka-Blams double page spread template as shown below.
This tardy realization would cost me, as it meant that if I wanted even pages, I'd need to readjust the layout for each of my files so that they'd be in compliance with the Ka-Blam template which would then allow me to cut my pages even and with greater precision.

But, that was neither here nor there, because being stubborn as I am I pressed on anyway determined to bind my book so that I could get some more practice with book binding.
And for some reason, I am so eager about completing this project. I guess it's just been so long since I've accomplished something you know? Back when I was younger I was kinda a shining star rotating from one accomplishment to the next but as time went on I blew up and became a black dwarf floating through space. And I've been floating ever since....
Even so, I'd like to remind myself to enjoy the process a little more instead of racing ahead towards the finish line. Because in reality, it never ends, once this book is done, I'm off to the next one, and then the next project after that, and so on and so forth, and so there will never truly be a definitive finish line and so it is imperative that I grab one of those cinnamon muffins from Trader Joes, grab a cup of tea, and take some time to enjoy the ups and downs of trying to build something from the ground up.
So yeah, let's continue on a bit more :)
Okay everyone, so tuning back into the main topic of the day, below is a picture of the signatures all aligned to create the spine, and placed inside of the book press. I didn't document this part, but prior to this step, I used the PH neutral bookbinding glue from Lineco and a sponge brush to carefully spread the glue from the top to the bottom of the spine of the book. Each time the glue dried a bit, I went ahead and applied a new layer so as to allow for extra security and adhesion.
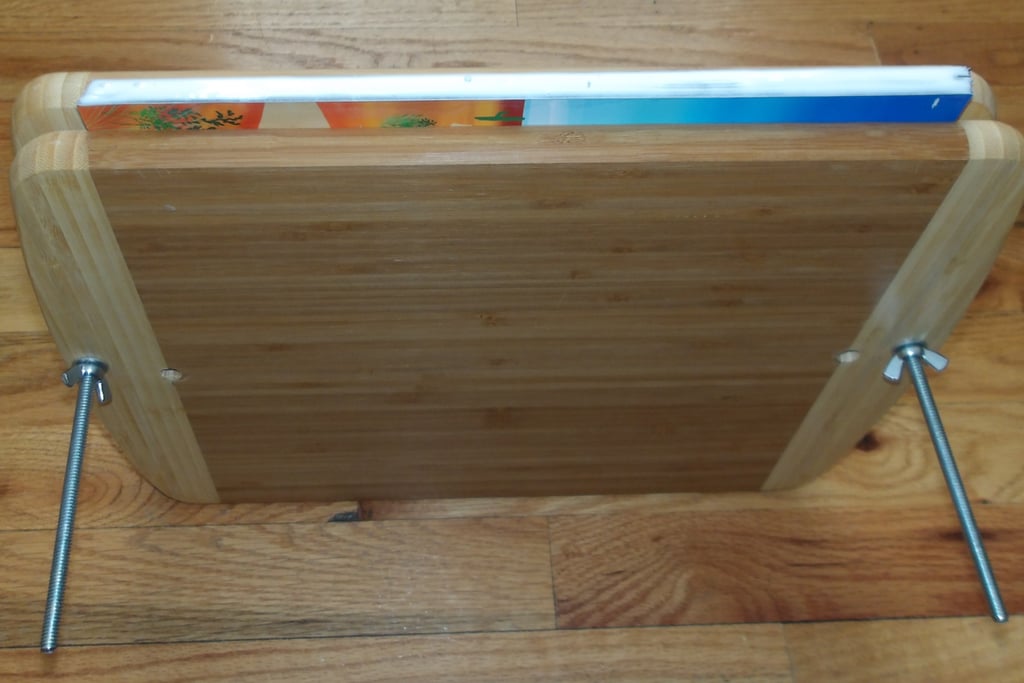
From a glance everything looks copacetic, however, upon zooming in you'll see quite a huge discrepancy. Notice the top of the spine on the right hand side there's a little bit of a gap there. Can you see it? No? No worries, take a look at the magnified version below:
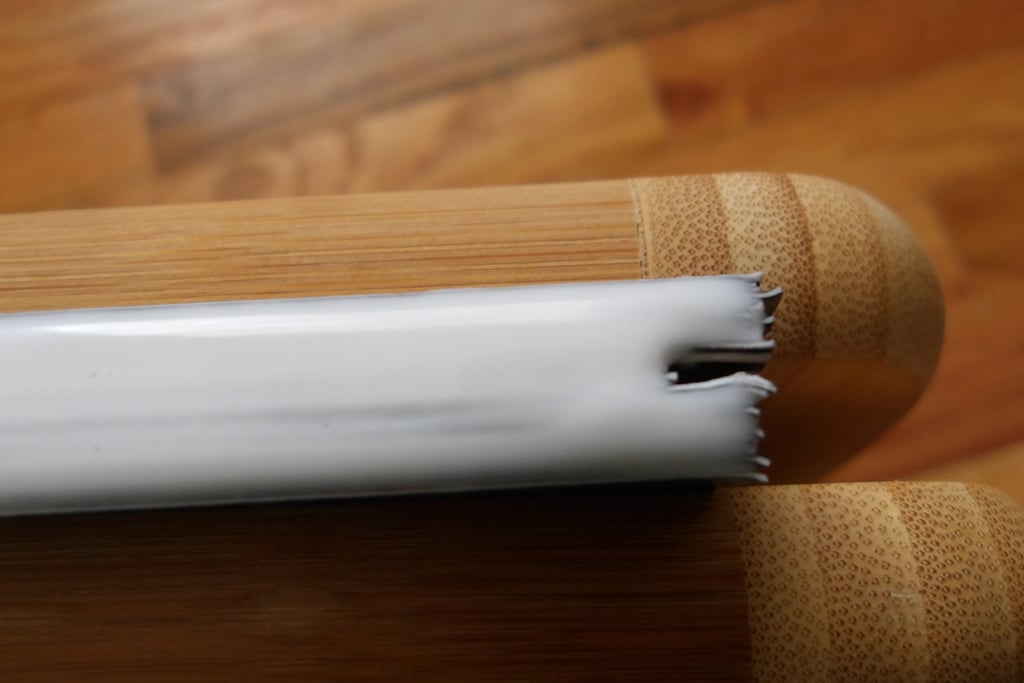

Ewwwwww.... Isn't that yucky? The pages are misaligned, there's a huge gap resulting from the fact that some of the pages were cut shorter than the others, and now I run the risk of having a book that is bound to fall apart. (That pun was honestly an accident but it fits perfectly here!) Ahem
But not to worry! Anticipating that I might run into some trouble (as this is third time I've done this) I prepared ahead of time and purchased muslin and archival tissue paper to circumvent this issue!! And not to give you any spoilers or anything, but it worked like a charm!
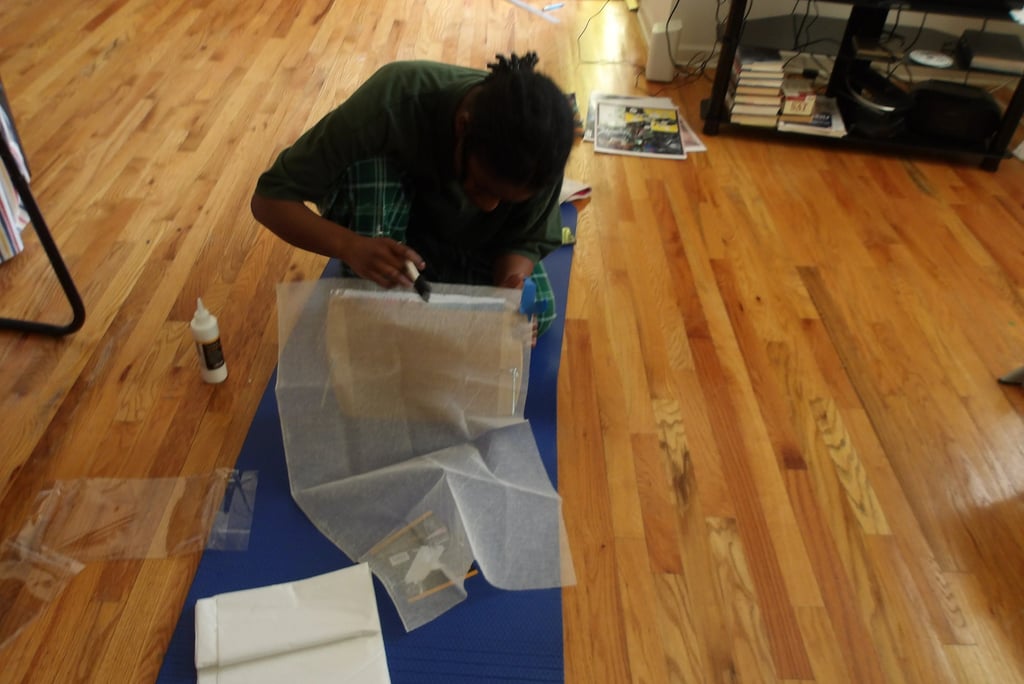
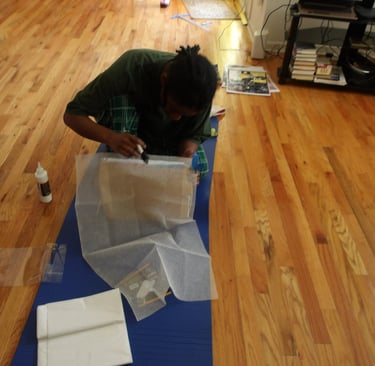
The artist turned bookbinder adheres the muslin to the spine using PH neutral glue, an action to be followed up by gluing the archival tissue paper on top to further secure the signatures.
Honestly, I wasn't sure that this would work but it did! But, I am getting a little ahead of myself as we still have to attach the book cover!
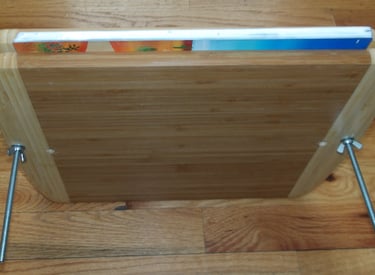
Though, unfortunately, I do not have a photo that visually shows me cutting the front and back of the book, nor do I have a photo of me measuring and scoring the spine with my bone folder....but I do have a photo of the before and after of the books side by side.
The book on the left is the book I just finished binding and the book right is the one I completed quite a bit ago, perhaps back in October of last year.
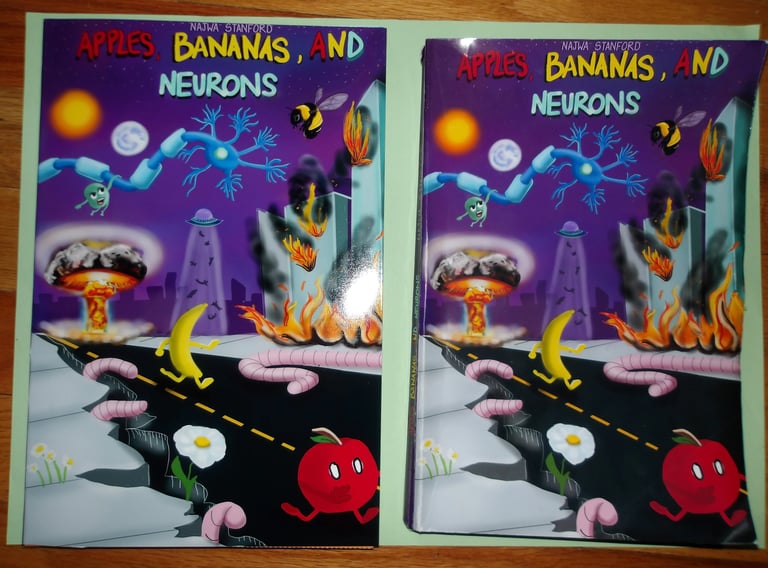
As you can see there are still quite a few imperfections and neither book is fit enough to send off to the copyright office, and so we'll be back at it again in the next one!
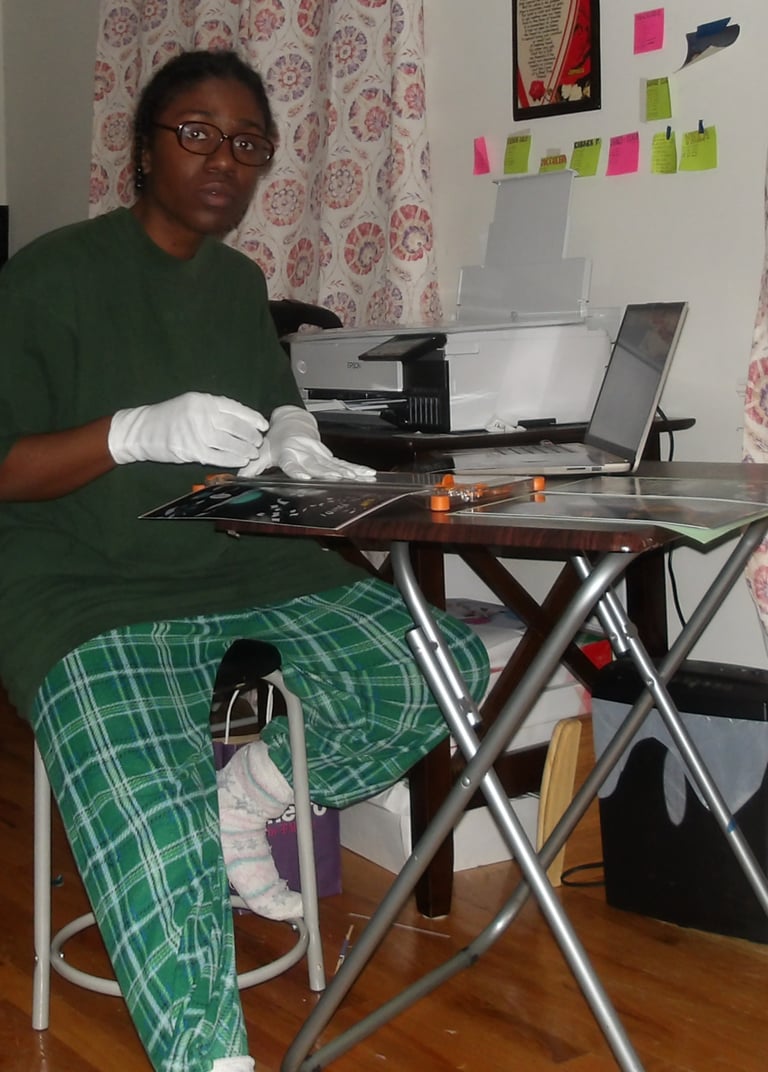
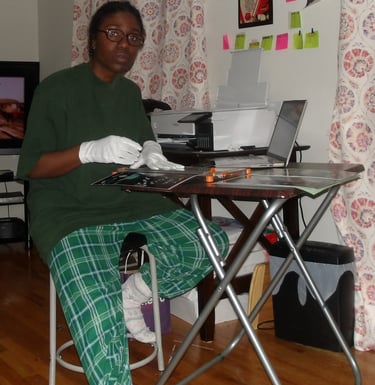
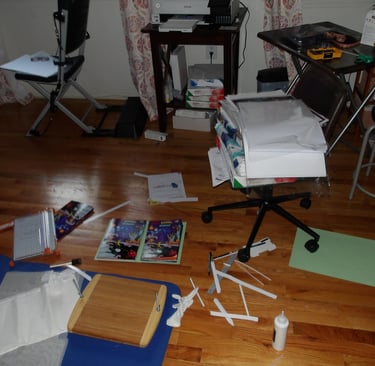
Oh, and for funsies check out all the cleanliness that was obliterated for the making of one little book called Apples, Bananas, and Neurons....don't judge me ya'll I'm a messy artist but I cleaned it all up!!
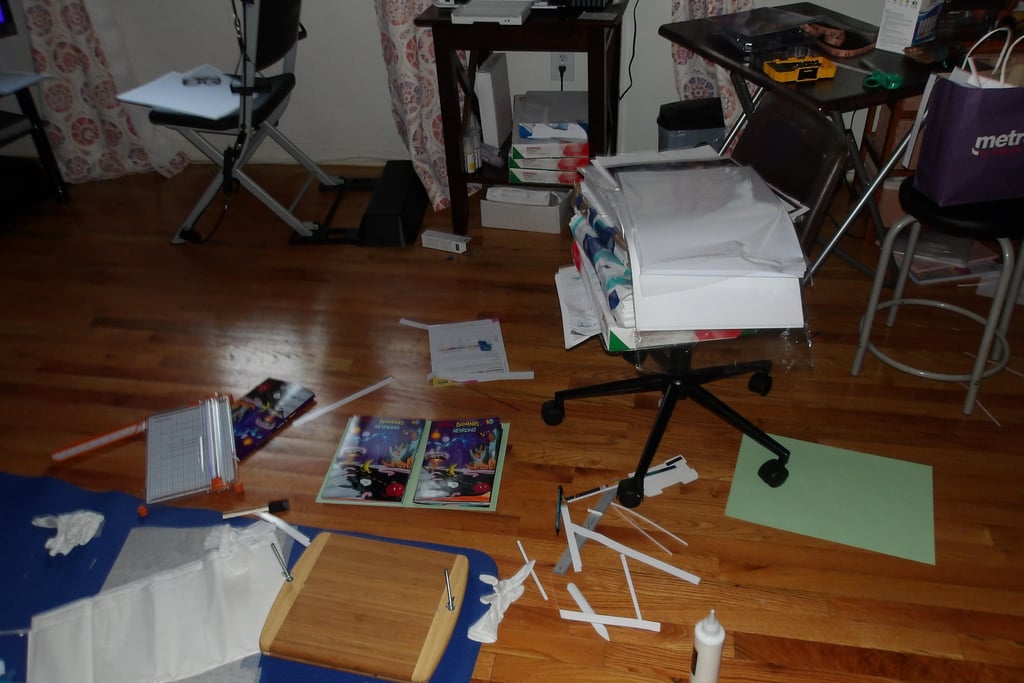
Apples and Bananas Coming Soon drops June 30th!